The traditional way for a webpage to be served to a browser (aka the client) is for the request to be sent to the server, the server makes all the necessary requests to the CMS, APIs, and databases, before building the page and returning it to the browser. In a headless setup, the CMS focuses solely on content management and exposes content via an API, allowing front-end frameworks like React to handle rendering.
Historically, Umbraco was tightly coupled to traditional rendering, meaning its primary role was serving websites rather than acting as a flexible content provider. You could use it as the backend for other types of applications but you had to ask nicely and that took a lot of time and effort.
With the introduction of Umbraco’s Content Delivery API we can easily decouple systems. This means that instead of running an application as a single monolithic system, we can split it up into smaller pieces that work together. Umbraco can act as the CMS and content delivery provider, and leave the rendering of the frontend to something else.
The benefits of this approach are that we can create highly available, resilient, and performant applications that scale independently of one another and that work with any type of front-end - such as a web site, mobile app, API, or desktop app.
In this blog post we’ll take you through setting up a basic web site that uses Umbraco’s headless APIs to work with a React frontend. To help us tie everything together we’ll use Vite.AspNetCore, an open-source project that runs a Vite dev server and provides helpers to make working with React in ASP.NET easier.
While this article serves as an introduction to working headless, it does assume some basic knowledge of Umbraco such as how to edit content, how to find out the ID of a page, and how to manage document and data types. A sample project can be found at the end of the article.
Tech stack overview
Dev environment
We’ll be using Visual Studio for this article, but you can use whatever dev environment you feel comfortable in.
Back-end: Umbraco
As of writing the latest version of Umbraco is version 15, but this approach should work in any version from 12 onwards.
For efficiency we’ll be using SQLite, but you can use any database that Umbraco supports.
Frontend: React
For this blog post we’ll be using React, but the same principles apply regardless of whether you’re using React, Vue, Svelte, or just plain old JavaScript.
Build & serve: Vite and Vite.AspNetCore
Vite is a modern build tool and development server for JavaScript apps, designed to be extremely fast by using native ES modules and on-demand compilation. Vite provides instant server startup and hot module replacement (HMR).
Vite.AspNetCore is a open-source implementation of Vite into the ASP.NET pipeline.
Setting up the backend
Let’s get right to it and install Umbraco. Umbraco has some excellent documentation on getting started, but we quite like using Paul Seal’s Package Script Writer. You can use whichever one works for you, but for this example we’ll be running the following commands in a command prompt in an empty folder to get up and running with a basic Umbraco install using the Clean Starter Kit:
Ensure we have the latest Umbraco templates
dotnet new install Umbraco.Templates --force
# Create solution/project
dotnet new sln --name "UmbReact"
# This installs Umbraco with SQLite and enables the Content Delivery API via the "-da" flag
dotnet new umbraco --force -n "UmbReact.Example" -da --friendly-name "Administrator" --email "admin@example.com" --password "1234567890" --development-database-type SQLite
dotnet sln add "UmbReact.Example"
#Add starter kit
dotnet add "UmbReact.Example" package clean
dotnet run --project "UmbReact.Example"
#Running
All going well your Umbraco website should be running and you should see the URL to your Umbraco site in the command prompt window.
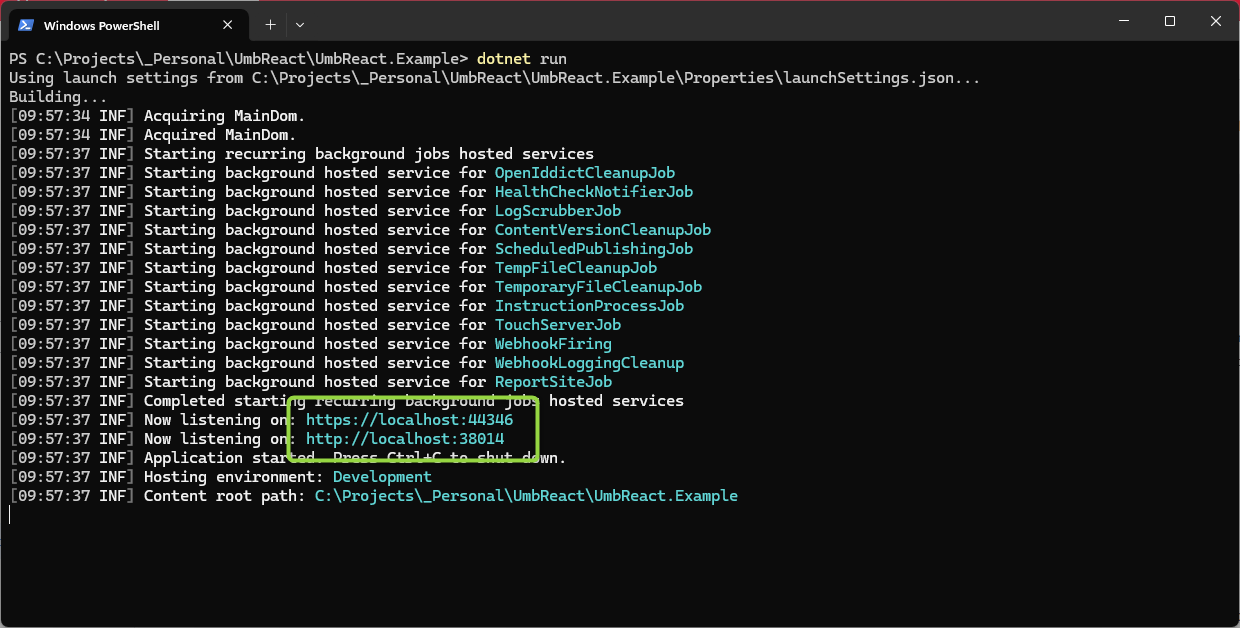
Open this in your browser and you should see the Clean Starter Kit homepage. Now change the path to /umbraco and log in using the credentials below:
Username: admin@example.comPassword: 1234567890
We also enabled the Content Delivery API, so to verify that’s working make a request to the following endpoint in your browser:
/umbraco/delivery/api/v2/content/item/{path}
Where {path} is the path to your content (for the homepage you can leave this blank) e.g.
/umbraco/delivery/api/v2/content/item
For About it will be:
/umbraco/delivery/api/v2/content/item/about
If this works you should see a bunch of JSON in your browser. Take some time to familiarise yourself with the structure of the JSON as you’ll need to know how to access properties later on, and as always the Umbraco documentation has all the details you need.
Setting Up the React Frontend
Now that we have Umbraco working, it’s time to get our front-end working. We’ll be installing React and Vite, and then tying them together with Vite.AspNetCore.
As always we recommend reading the official Getting Started with React docs, but we’ll put a brief overview of the commands we’ll need to run below.
Open a command prompt in the UmbReact.Example folder (or re-use the one we used earlier) and run the following command:
npm create vite@latest clientapp
When it asks you to select a framework, select React. When it asks you to select a variant, you can select whichever one you’re comfortable with. We’ll be using JavaScript. And that’s it, that’s React installed and we can use Vite to build the front-end.
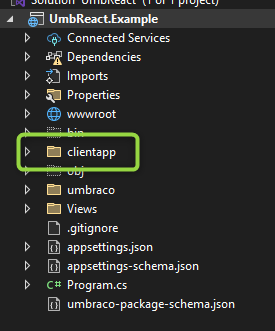
You should see the clientapp folder in your UmbReact.Example project:
In the command prompt navigate to the clientapp folder:
cd clientapp
And run the following once to install front-end dependencies:
npm i
Then to start the Vite dev server run this:
npm run dev
You should see the following output:
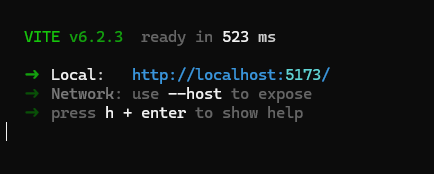
Open that URL in a browser window and you should see this:
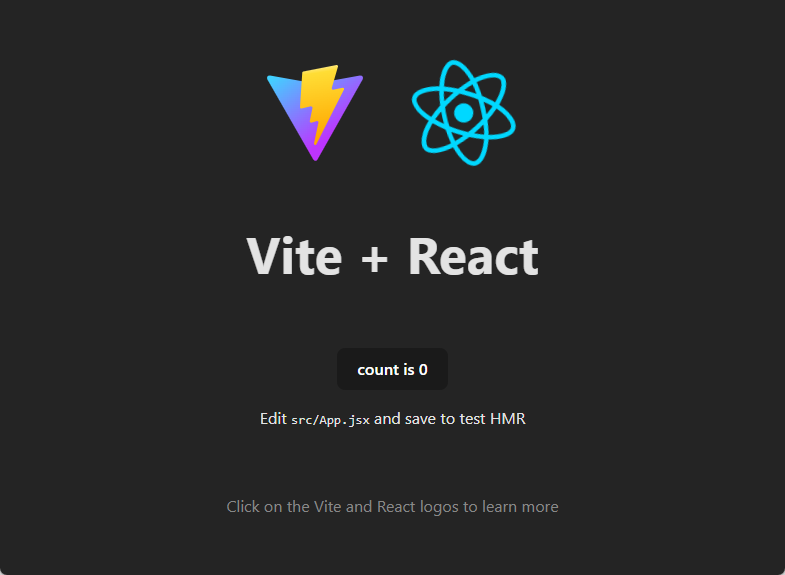
Success! We now have Umbraco working and we can run that using one command, and we have React/Vite and we can run that using another command, but wouldn’t it be great if we could run these in tandem and not have to worry about remembering to run the Vite dev server? That’s where Vite.AspNetCore comes in.
Navigate back up to the root of your Umbraco project:
cd..
And install the Vite.AspNetCore package (obligatory read the docs reminder):
dotnet add package Vite.AspNetCore
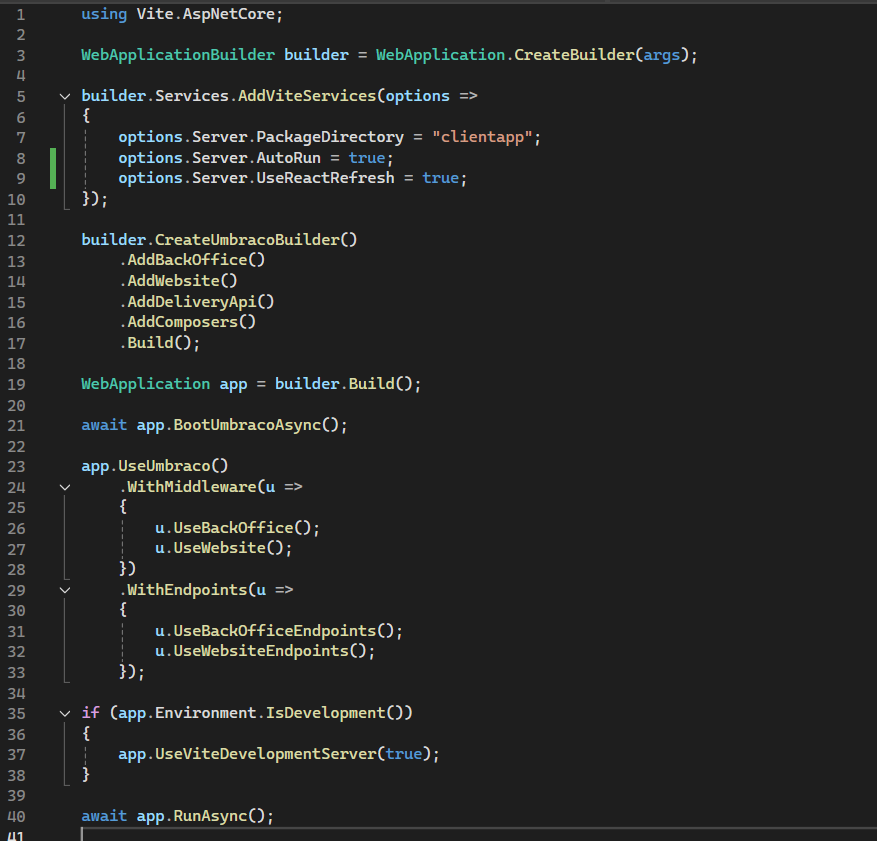
Open Program.cs and add the following:
using Vite.AspNetCore;
builder.Services.AddViteServices(options =>
{
// this should match the folder name where your React files are located
options.Server.PackageDirectory = "clientapp";
// Enable the automatic start of the Vite Development Server. The default value is false.
options.Server.AutoRun = true;
// If true, the react-refresh script will be injected before the vite client.
options.Server.UseReactRefresh = true;
});
if (app.Environment.IsDevelopment())
{
// Enable all required features to use the Vite Development Server.
// Pass true if you want to use the integrated middleware.
app.UseViteDevelopmentServer(true);
}
The order is important, so make sure you add AddViteServices before CreateUmbracoBuilder, UseViteDevelopmentServer is after UseUmbraco:
From the Views folders, open _ViewImports.cshtml and append the following:
@addTagHelper *, Vite.AspNetCore
Open master.cshtml and add the following into the <head>:
<script type="module" vite-src="~/src/main.jsx" asp-append-version="true"></script>
Now when you run your Umbraco site not only does your Umbraco website open in the browser but the Vite dev server should also run, and if you stop your site then the Vite dev server also stops.
And that’s it, we have Vite and Umbraco running together using Vite.AspNetCore. We’re now ready to call the Client Dependency API from our front-end and properly React-ify our Clean Starter Kit site.
Querying data and updating our frontend
When we installed React it gave us some demo code, some of which we’ll keep and some which we’ll throw away.
In the clientapp folder delete app.css, index.css, and the assets folder. You won’t be needing these.
Open main.jsx, this is the entry point for our React app, and remove the line import './index.css'. Further down you’ll see it queries the DOM for an element with an ID of “root”, and attaches itself to it. At the moment this does nothing for our site because we don't have an element with that ID, so let’s add one.
Open home.cshtml and add id="root" to line 17.

Open App.jsx and replace everything with this:
function App() {
return <p>Hello from React</p>
}
export default App
If you run the site now you should see that the content for the homepage has been replaced with the content from App.jsx. Your Umbraco CMS frontend is now officially a React app.
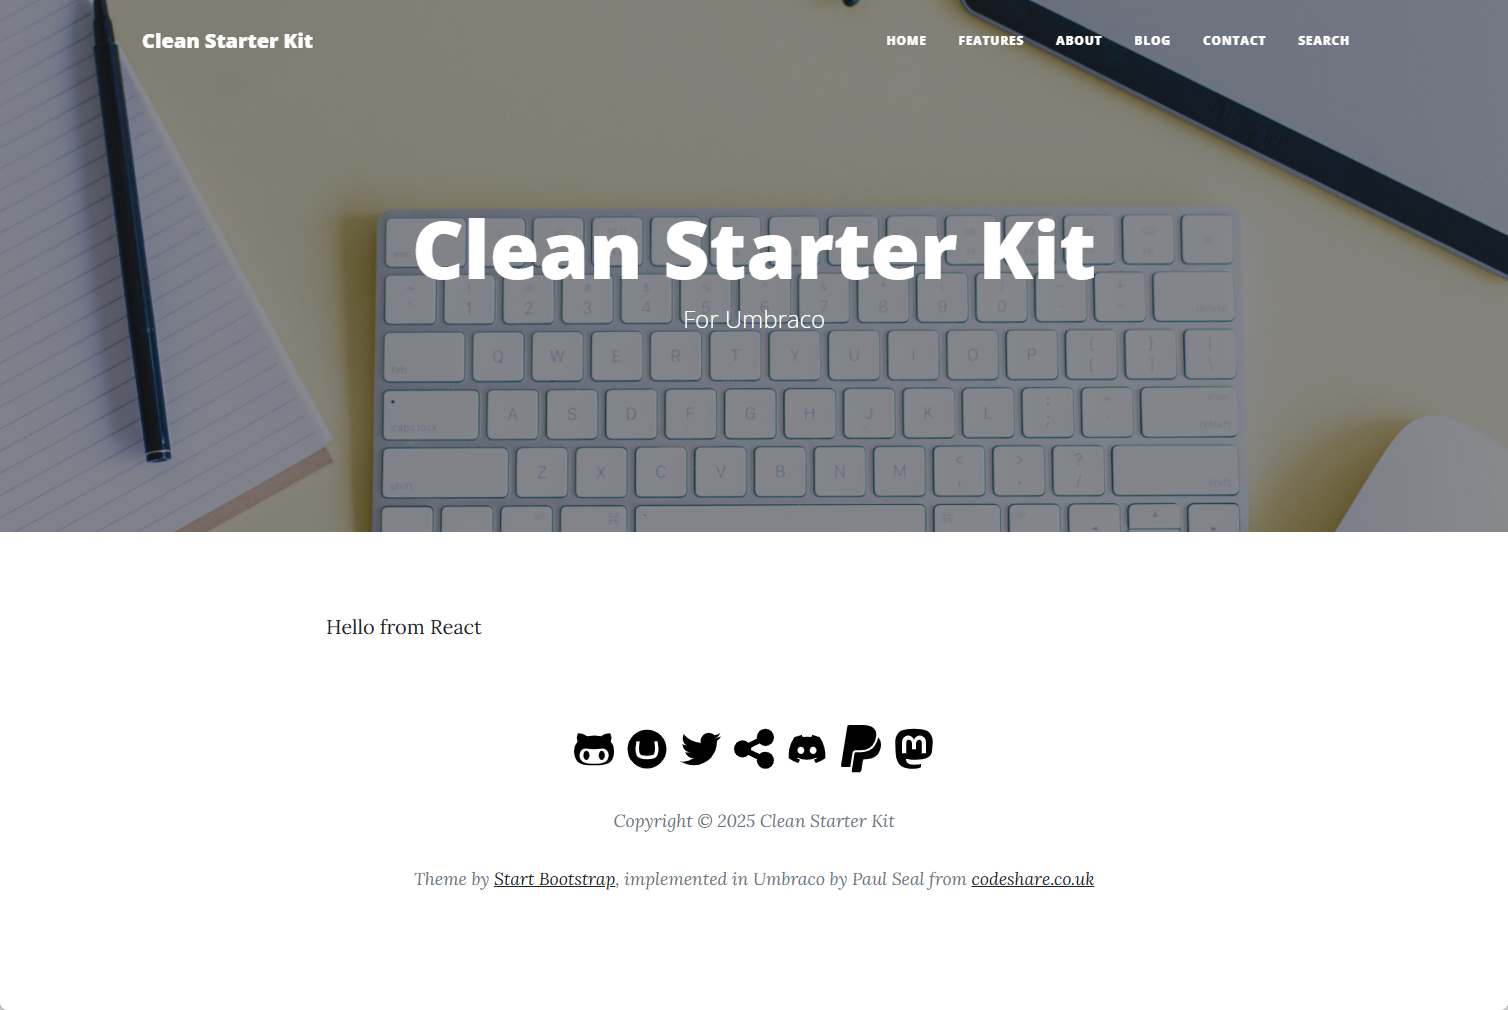
The final step in this article is to query the CMS’s Client Delivery API to get our homepage content back.
Create a new file in the clientapp/src folder and name it umbracoHelpers.js. We saw earlier that you can query the Content Delivery API using GET requests to the /umbraco/delivery/api/v2/content/item/{path} endpoint, so that’s all our code will do. Add this function:
export async function umbracoFetch(opts) {
const options = {
method: opts.method,
headers: { '
Content-Type': 'application/json'
} };
let url = opts.path
if (opts.query) {
const searchParams = new URLSearchParams();
Object.entries(opts.query).forEach(([key, values]) => {
if (Array.isArray(values)) {
values.forEach((value) => {
searchParams.append(key, value);
});
} else {
searchParams.append(key, values);
}
});
url += url.indexOf('?') >= 0 ? '&' : '?';
url += searchParams.toString();
}
const result = await fetch(url, options);
const body = await result.json();
return {
status: result.status, body
};
}
This function abstracts API requests, allowing us to fetch both individual pages and related content dynamically.
Open App.jsx and replace everything with this:
import { useEffect, useState } from 'react';
import { umbracoFetch } from './umbracoHelpers';
function App() {
const [contentRows, setContentRows] = useState([]);
const [loading, setLoading] = useState(true); useEffect(() => {
async function fetchData() {
try {
const response = await umbracoFetch({
path: '/umbraco/delivery/api/v2/content/item',
method: 'GET'
});
const rows = response.body.properties?.contentRows?.items || [];
// Fetch additional data for each item
const contentRows = await
Promise.all( rows.map(async (item) => {
if (item.content.contentType === "latestArticlesRow") {
const extraData = await umbracoFetch({
path: '/umbraco/delivery/api/v2/content',
method: 'GET',
query: {
fetch: 'children:' + item.content.properties.articleList.route.path,
take: item.content.properties.pageSize
}
});
return { ...item, extraData: extraData.body };
}
if (item.content.contentType === "richTextRow") {
return { ...item, extraData: item.content };
}
})
);
setContentRows(contentRows);
} catch (error) {
console.error('Error fetching data:', error);
} finally {
setLoading(false);
}
}
fetchData();
}, []);
if (loading) {
return <p>Loading...</p>;
} return (
<div className="row clearfix">
<div className="col-md-12 column">
{contentRows.map((item, itemIndex) => {
if (item.content.contentType === "latestArticlesRow") {
return item.extraData.items.map((article, articleIndex) => {
const author = article.properties.author[0];
return <div className="post-preview" key={articleIndex}>
<a href={article.route.path}>
<h2 className="post-title">
{article.properties.Title ? article.Properties.Title : article.Name}
</h2>
{article.properties.subtitle && <h3 className="post-subtitle">{article.properties.subtitle}</h3>}
</a>
{author && <p className="post-meta">
Posted by {author.name} on {article.articleDate}
</p>}
</div>
})
}
if (item.content.contentType === "richTextRow") {
return <div key={itemIndex} dangerouslySetInnerHTML={{ __html: item.content.properties.content.markup }} />
}
})}
</div>
</div>
);
}
export default App;
It isn’t exactly production quality code, we are taking liberties because we know that the contentRows property contains exactly 1 block of type latestArticlesRow. This block lists the top 3 articles from the /blog/ section. However we have also included support for a richTextRow just to show you how to expand this. This code would usually be extracted into a reusable class, but for now we’ll keep it here.
On line 11 we request the homepage content. And because we are expecting something in the contentRows property, we can then make a request starting on line 21 for the 3 articles that we need to list on the homepage.
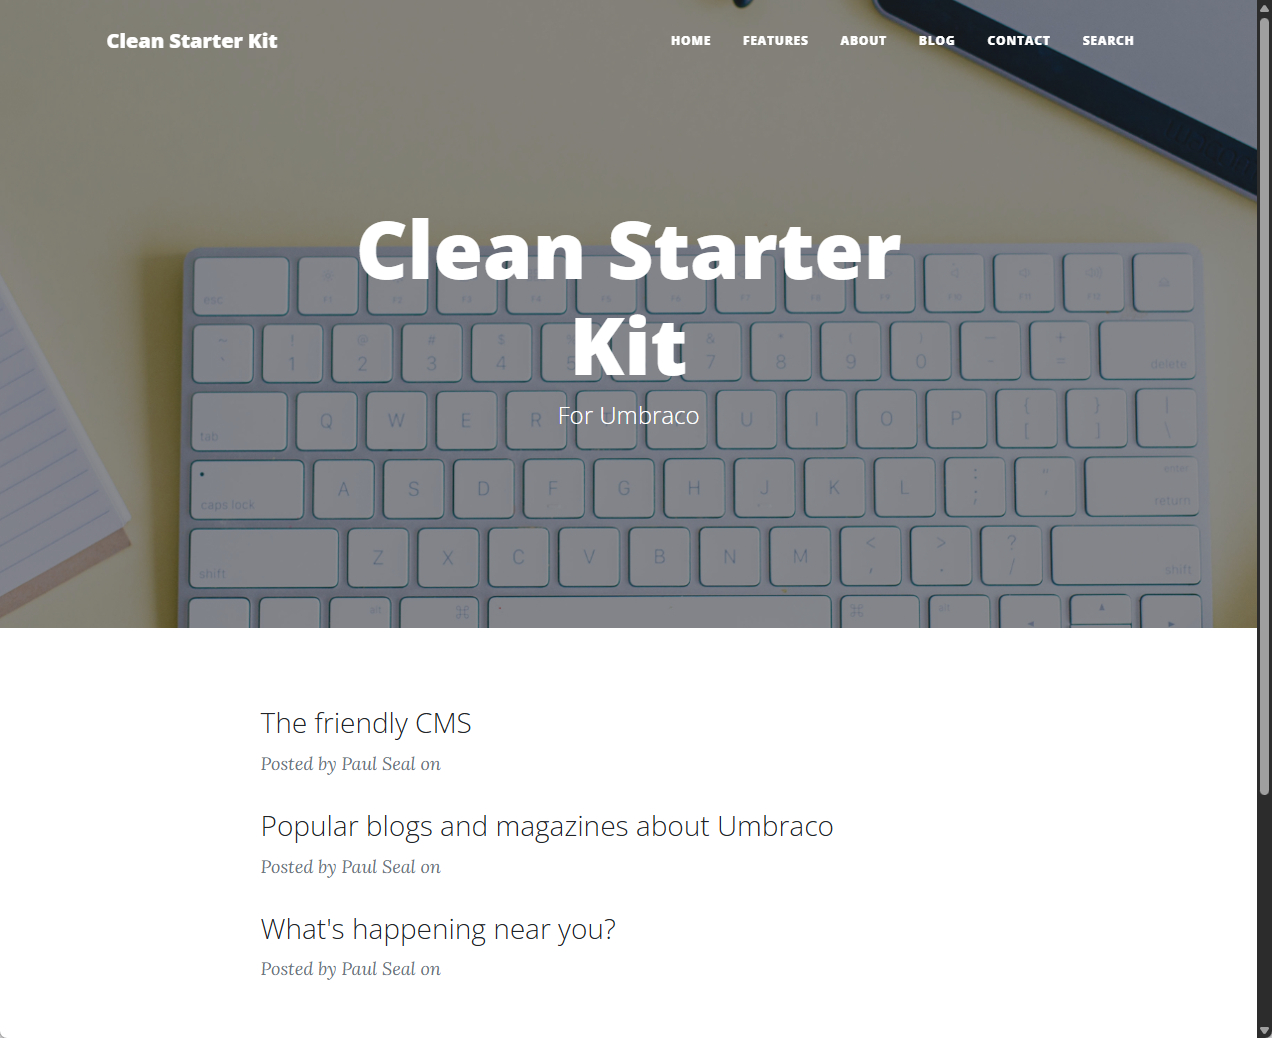
Now if you build and run the site you should see the homepage content appear as it did before. If you inspect the page’s network requests in Dev Tools, you’ll see fetch requests to /item for the homepage content and then /content for the 3 article summaries.
Enhancements and Next Steps
Want to take this further? Try integrating authentication or using React Router for multi-page support!
In part 2 of this article series we’ll create a site from scratch and, using React Router, we’ll make our entire React front-end CMS-driven and navigable.
Conclusion and Downloadable Example Project
In this article we showed you how to install and set up Umbraco using Package Script Writer. You learnt how to install React with Vite, and how to tie Umbraco and React together using Vite.AspNetCore.
Then we showed you how to request content using the Content Delivery API, before rounding off the article by rendering out real content to the front-end of your site from the CMS.
Hopefully this gives you the leg up you need to try implementing your own Umbraco React solution. If this article helped you, or if you already have an Umbraco React site and you have some feedback, then we’d love to hear from you.
You can find the sample project here.


